Final Week of DDC07
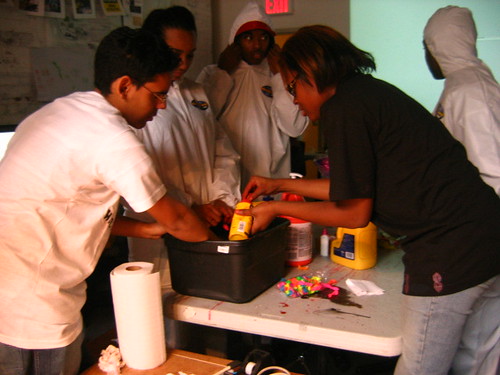
Although we spent most of our final week working on our projects we also got to meet a few great artists for some last-minute inspiration.
We met Graham from MediaShed who talked to us about free media. He also told us about a project called Gearbox designed in order to allow people to share ideas and instructions on how to do cheap and free projects within media.
To read more about MediaShed go to www.mediashed.org
To read more about Gearbox go to www.gearbox.mediashed.org
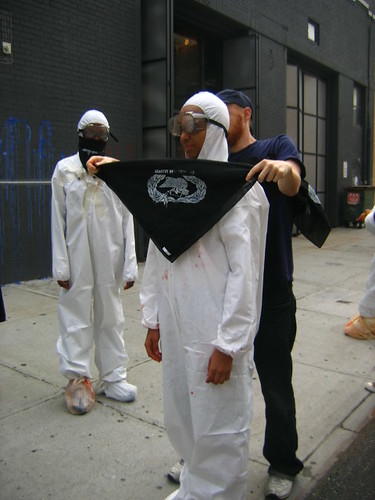
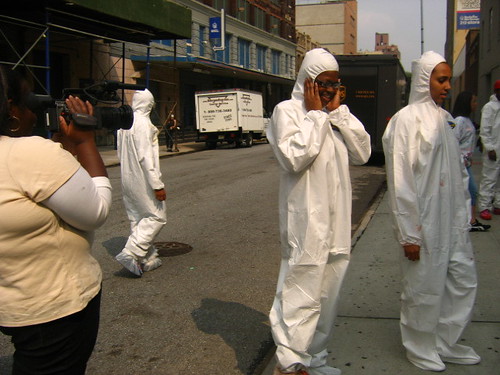
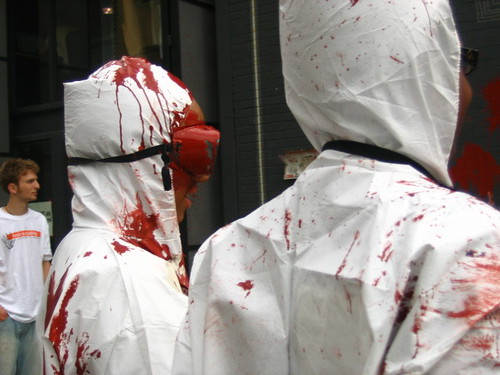
Later that week we met Andy from The Yes Men who talked to us about identity correction and fooling the corporate world.
To read more about The Yes Men go to www.theyesmen.org


